Vintage map coastline hatching in Inkscape
A popular style of illustrating coastlines, especially on vintage-style maps, is to use horizontal lines that fade out from the coast into the sea. To clarify, this is the kind of thing I mean...
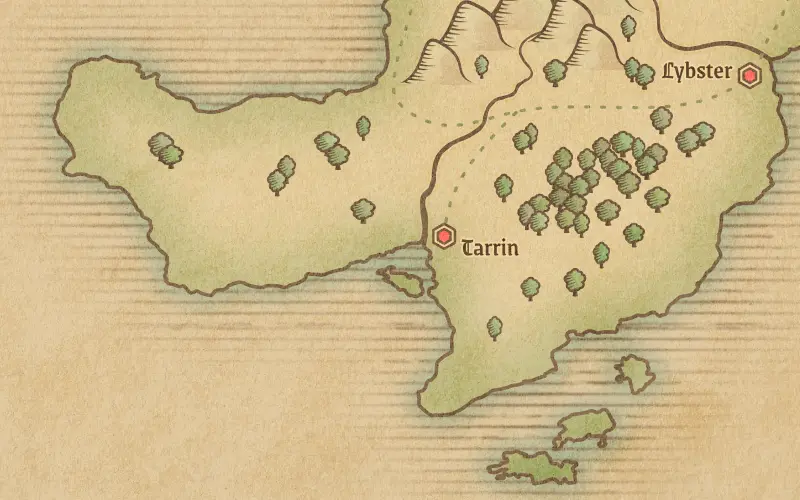
See those horizontal lines sticking out from the coast? If you fancy something like that on your map, here's how to imitate the style in Inkscape.
This style won't work with every coastline, but it's good for islands particularly.
To summarise what we're about to do: we'll create a pattern from some lines and fill the map with this pattern. Next, we'll fade it out around the coastlines with blur & masks. Note, if you're looking for a ripple effect around your coast, rather than horizontal hatching, I've a tutorial to help with that.
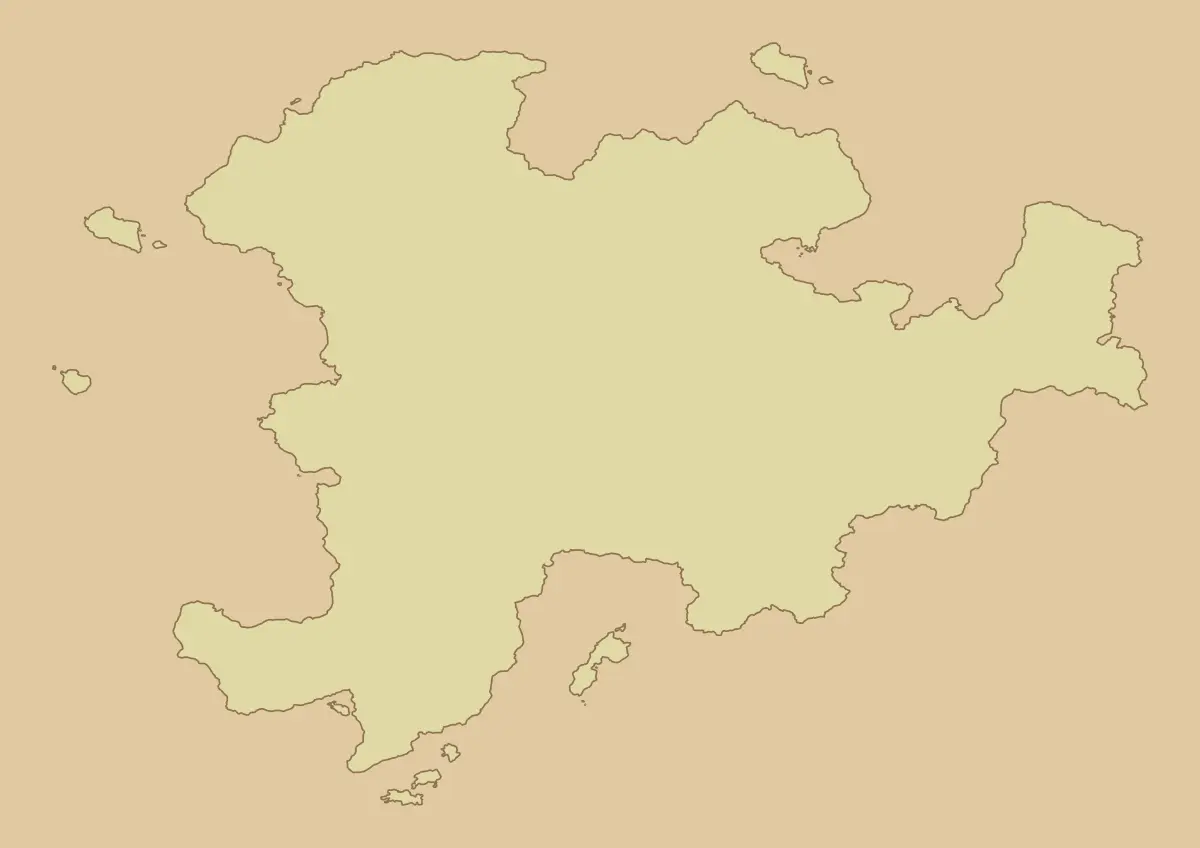
Here's the basic map I'm going to be working with.
Download the 'Lines' patterns
To save time, I've created a file with a couple of different line styles. You may want a different style of lines in your map, and it's very easy to create your own patterns, but I'd suggest starting with this file to practice and speed things up.
Click the link below to download the file 'lines-pattern.zip' and save it somewhere on your PC, then unzip it. Warning - this is a pretty massive file by vector standards (9Mb), as the objects have a very large amount of nodes. If you're on an older PC, Inkscape may slow down a bit when working with this file.
Open the file in Inkscape. You'll see there are two objects: one with mostly solid lines, and another with more broken, random lines.
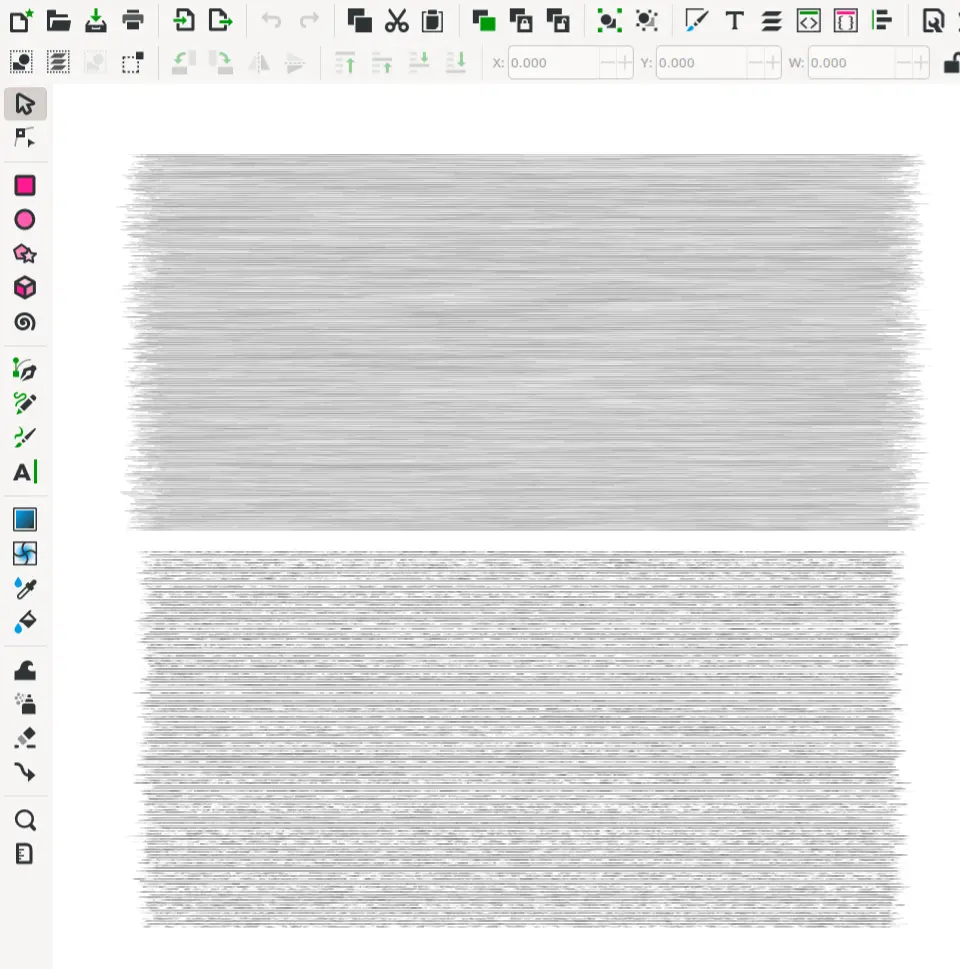
Copy one of these objects into your file (copy both if you want to try each style).
If you want the line objects to be a different colour, change them now. Go to the Fill tab on the Fill and Stroke panel, and select the colour you want. If you want the lines to be a little thicker, add a thin stroke. It's a bit of a faff to change colour after converting to a pattern, so make sure to set the colour you want before you take the next step.
Create a pattern
To convert a line object to a pattern: click the line object once to select it, then open the Object menu and select Pattern > Object to Pattern. You can delete the original lines object once you've done this.
Note, the original objects are not seamless and they won't tile in the way a proper seamless pattern will. They'll be fine for vertical tiling, but not horizontal. I deliberately created a fairly wide object to avoid having to mess about with seamless patterns. If you need the pattern to be wider, you can just stretch it out.
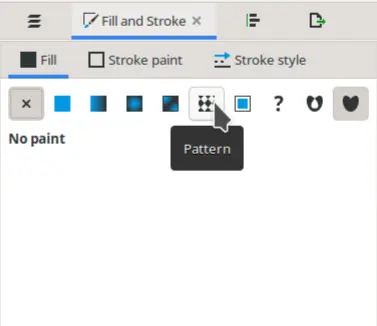
To apply the pattern, draw a rectangle that covers the ocean area of your map (or wherever you want the coast hatching to go). Now go the the Fill and Stroke panel and select the Fill tab. There's a row of icons at the top, and one of them has a black & white diamond checkered pattern. This is the icon that will fill a shape with a pattern. Inkscape generally puts new patterns right at the top (above the default patterns that come with the software) so your new pattern(s) should be listed there. They'll be named something like 'Pattern12345'. Select the pattern from the dropdown menu and it will be applied.
Adjusting the pattern
I have found that the pattern applied seems to be larger, with thicker lines, than the original. Now this isn't really a problem, as it's very easy to stretch and shrink a pattern, but you have to find the nodes to do this and Inkscape seems to delight in playing hide and seek with you!
Zoom out quite a bit on the canvas. You're looking for three tiny nodes: an 'X', a square and a circle. Sometimes you've got to zoom out to about 5% before you can see them and I've no idea why they end up where they do. But, once you've spotted them, with the mouse, drag the 'X' to just outside the top left corner of your map, so that you can easily locate it again.
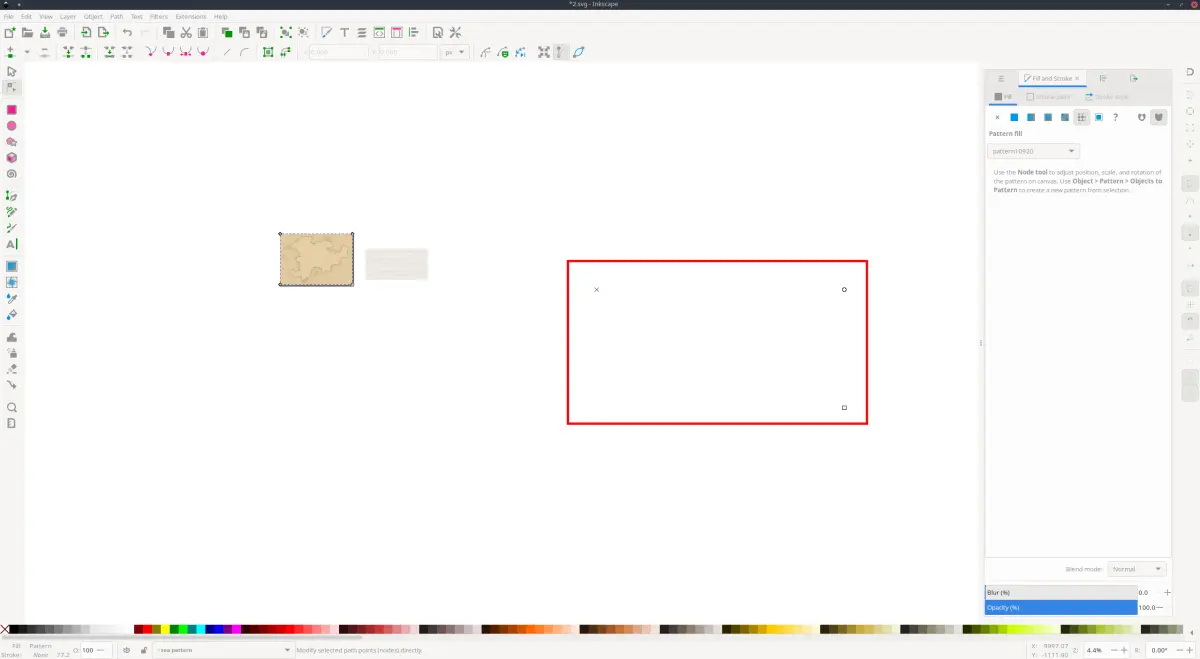
The pattern node icons are used as follows:
- The 'X' moves the pattern about on the canvas.
- The circle rotates the pattern.
- The square allows resizing. You can hold Ctrl to while moving the square to maintain proportions, or just drag it in and out, up and down, to scale any way you like.
So, try dragging the square up a bit and in a bit to see how the pattern scales. Make sure you keep the total width of the pattern bigger than your ocean area, since (as mentioned earlier) the lines object isn't seamless. It'll tile vertically just fine, but the horizontal 'seam' will be very obvious.
Here's what I have after filling the ocean/background area of the map with the lines pattern.
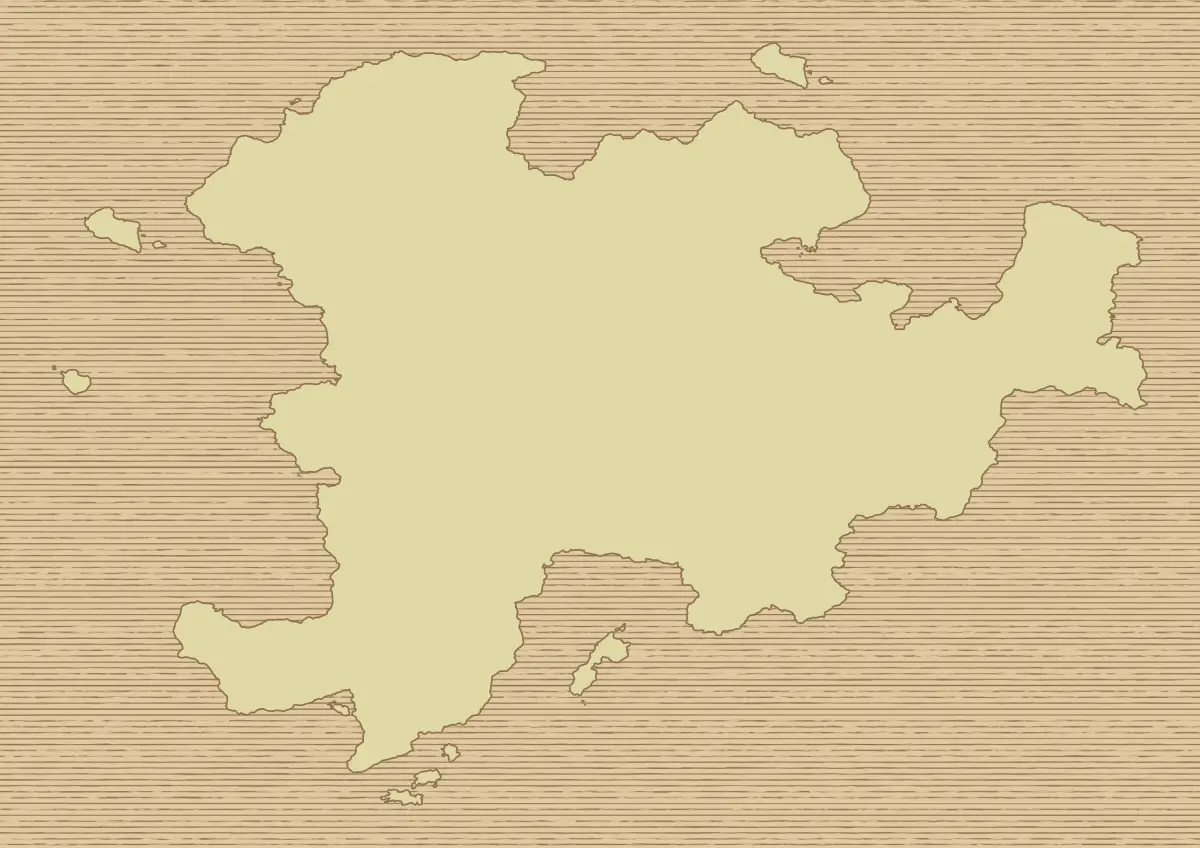
This is looking OK, but we want the lines to fade out as they get further from the coastline. This is achieved with a mask.
Create a mask
Duplicate your land shape and move it to the same layer as the lines pattern. Give your land shape a fill colour of white, with 100% opacity. Remove any stroke.
I would strongly suggest simplifying the shape quite significantly before we start. We don't need an intricate coastline for the mask. Something rounded will work fine. Hit Ctrl + L to simplify. Once may be enough, or you can hit it a few times, depending on the value you have set for simplification threshold (you can find this in Edit > Preferences > Behaviour).
After simplifying, we need to grow the land shape a little, so hit Ctrl + ) a couple or maybe several times (decide what looks good to you) to make the land shape bigger. You should now have something like this...
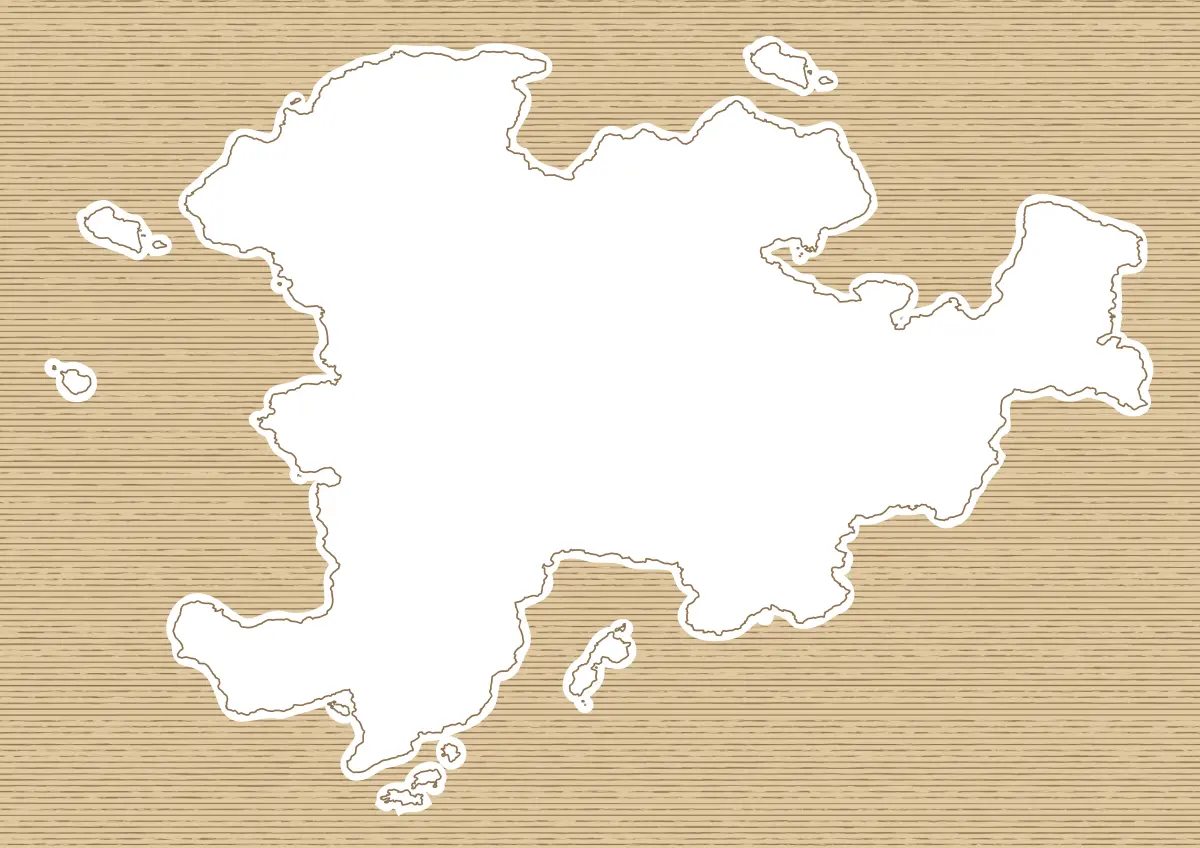
Now we need to give the white land shape a decent blur. It's the blur that creates the fade out effect. If you're not familiar with masking, there's an adage: "Black conceals, white reveals". We aren't using black here, but the mask assumes anything that isn't white is black. Put simply, what's underneath the white will show. What isn't will be hidden.
Decide how much blur you want. The size of your land shape(s) could affect the value, so you'll have to decide what's best.
Go to the Fill and Stroke panel, with your white land shape selected. Make sure you're on the Fill tab, then adjust the Blur slider at the bottom of the panel. Set a value of perhaps 20%, or whatever looks good to you. You should have something like this...
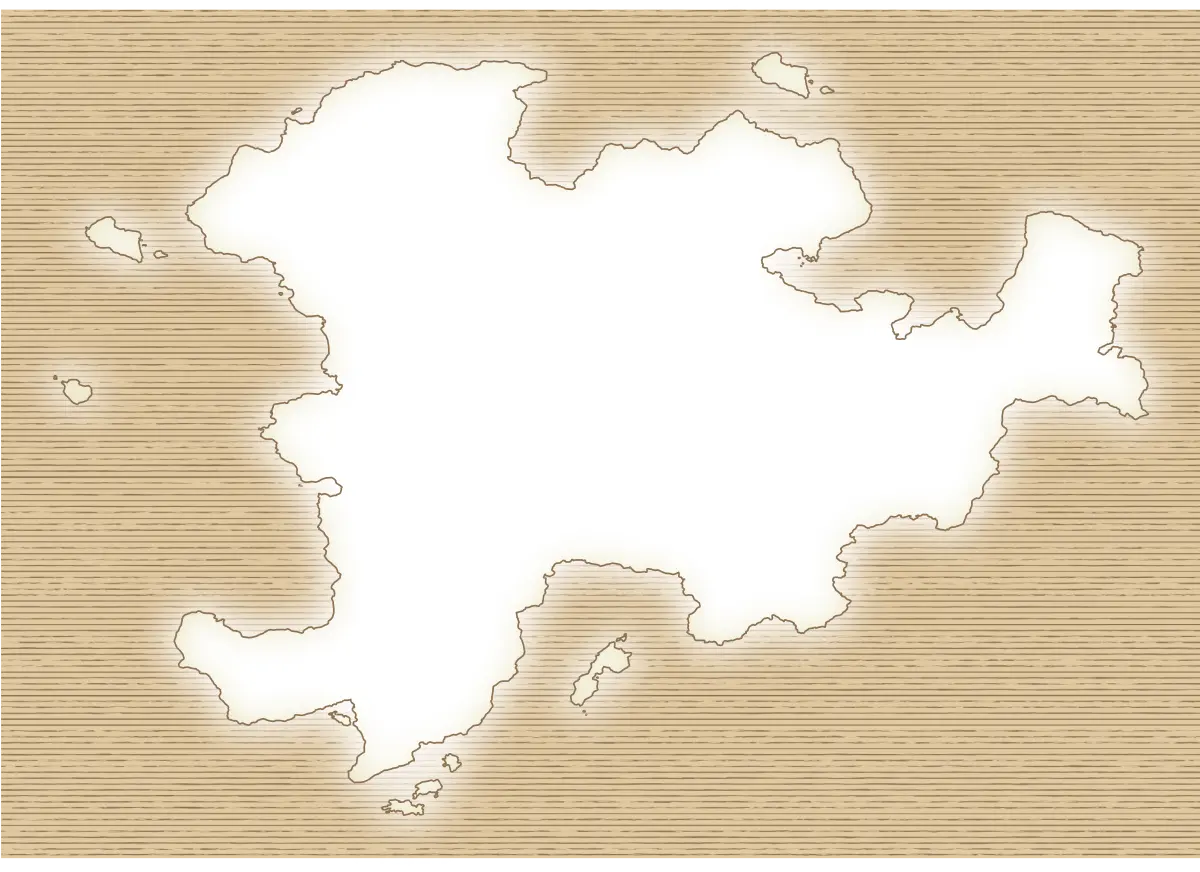
The final step is to hold shift then select the blurred land shape and the lines pattern underneath. With them both selected, go to the Object menu and select Mask > Set. You should now have a land shape filled with horizontal lines that fade out as they extend from the coastline. Here's my result...
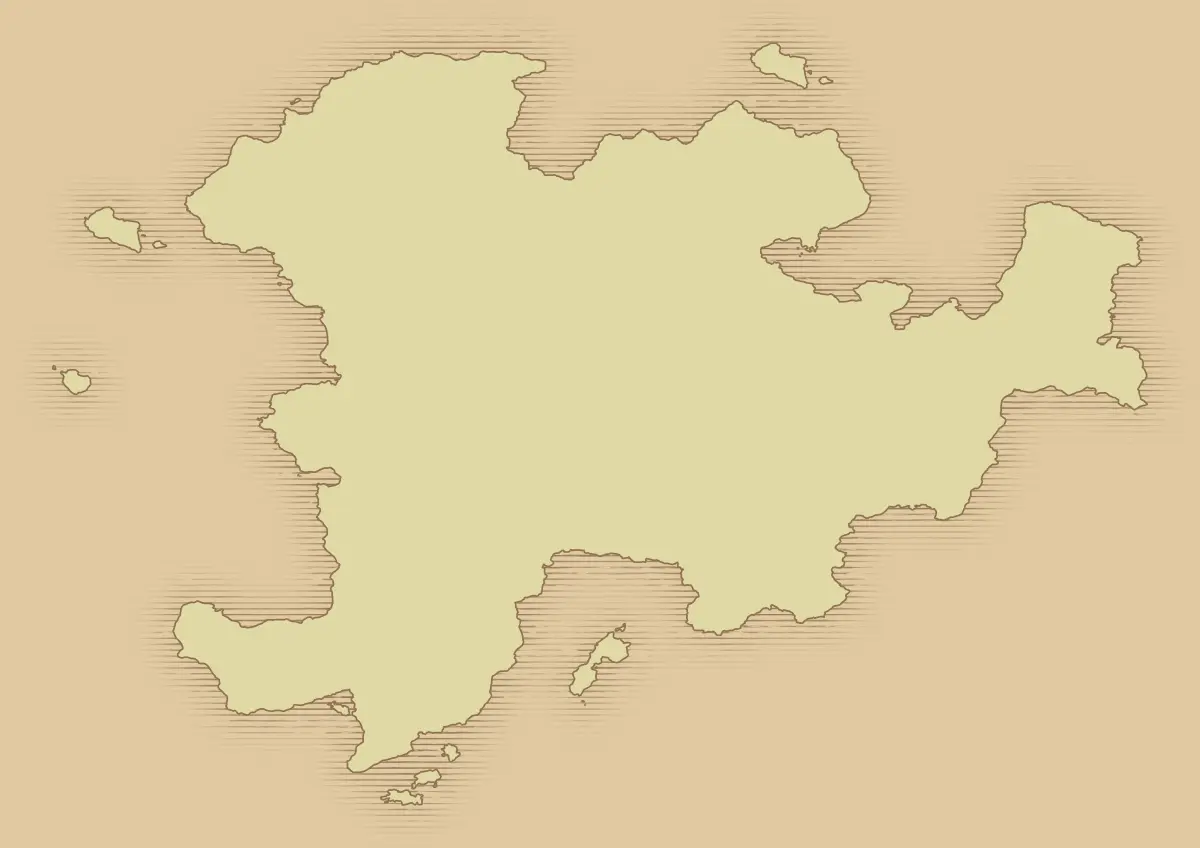
Tweaking the results
If you're not quite happy with your result, you can adjust what you have. First step is to click Object > Mask > Release. This will unset the Mask.
If you want your lines to extend further from the coast (i.e. you want longer lines), you can try a larger value for the blur. Or, hit Ctrl + ) a few times to 'grow' the size of the land shape, then reapply the blur and the mask and see how that looks.
If you feel your lines extend too far, and you'd like shorter lines, try a smaller blur value, or hit Ctrl + ( to 'shrink' the land shape down closer to its original size. Reapply the blur, then apply the mask once again.
It's quite easy to play around until you find settings that work well with what you have. Oh, and if you want to try the other lines pattern, click the rectangle where you applied the pattern, then go to the Fill and Stroke panel (Fill tab) and select the other pattern from the Pattern fill dropdown menu. You'll need to use the Node tool to move and adjust the pattern again.
Add a coastline glow
After you've got the lines looking how you want, one other step to consider is adding a little blur/glow around the edge of the coastline. This can add a nice bit of contrast to help distinguish land from water.
To do this, we need another copy of the land shape, and we have to repeat the simplifying step. Hit Ctrl + L a few of times to smooth out the coastline. We need to grow the land shape again, but only a little bit this time, so hit Ctrl + ) a few times to make the object just a bit bigger. Now add some blur, though a bit less than before (I went for 15%) and lower the opacity a bit (I went for 40%). You can position this blurred shape above your lines, where it will cover them at the very edge of the coastline, but I feel it looks better if you lower it below the lines pattern.
The final result
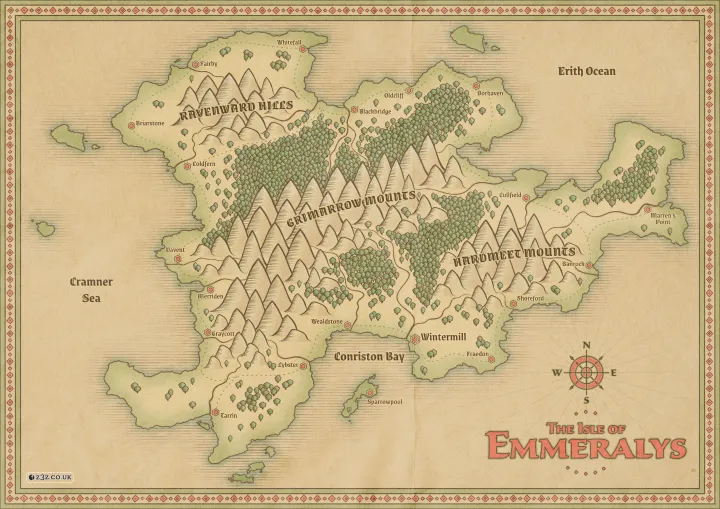
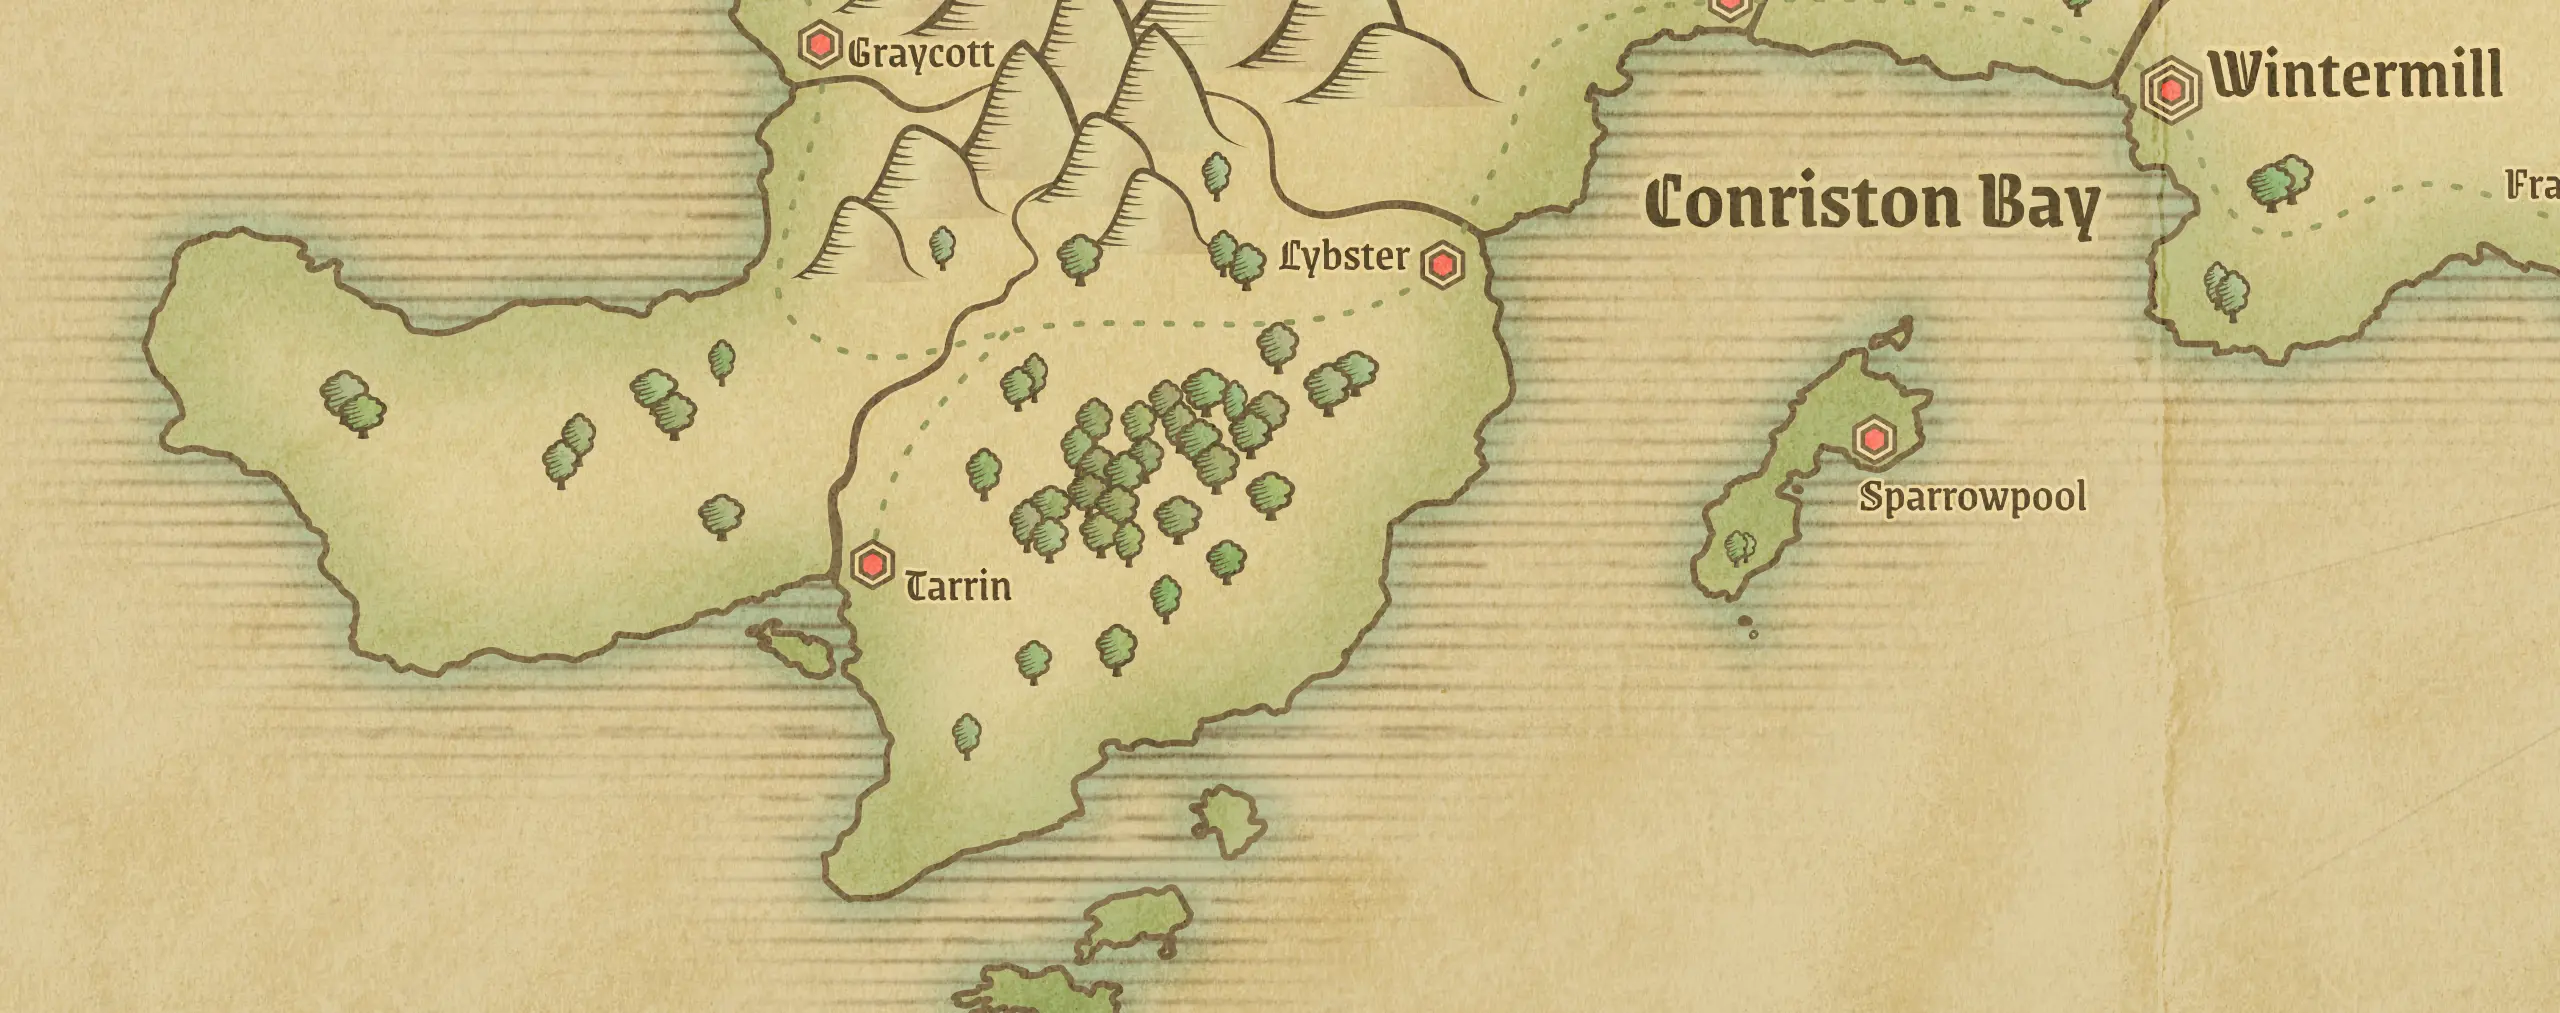
Here's my final coastline showing the original land shape, with the brown lines pattern at the coastline, and a subtle blue glow underneath just to enhance the boundary between land and water. I've also added a little blur around the edge of the land where it meets the coast.
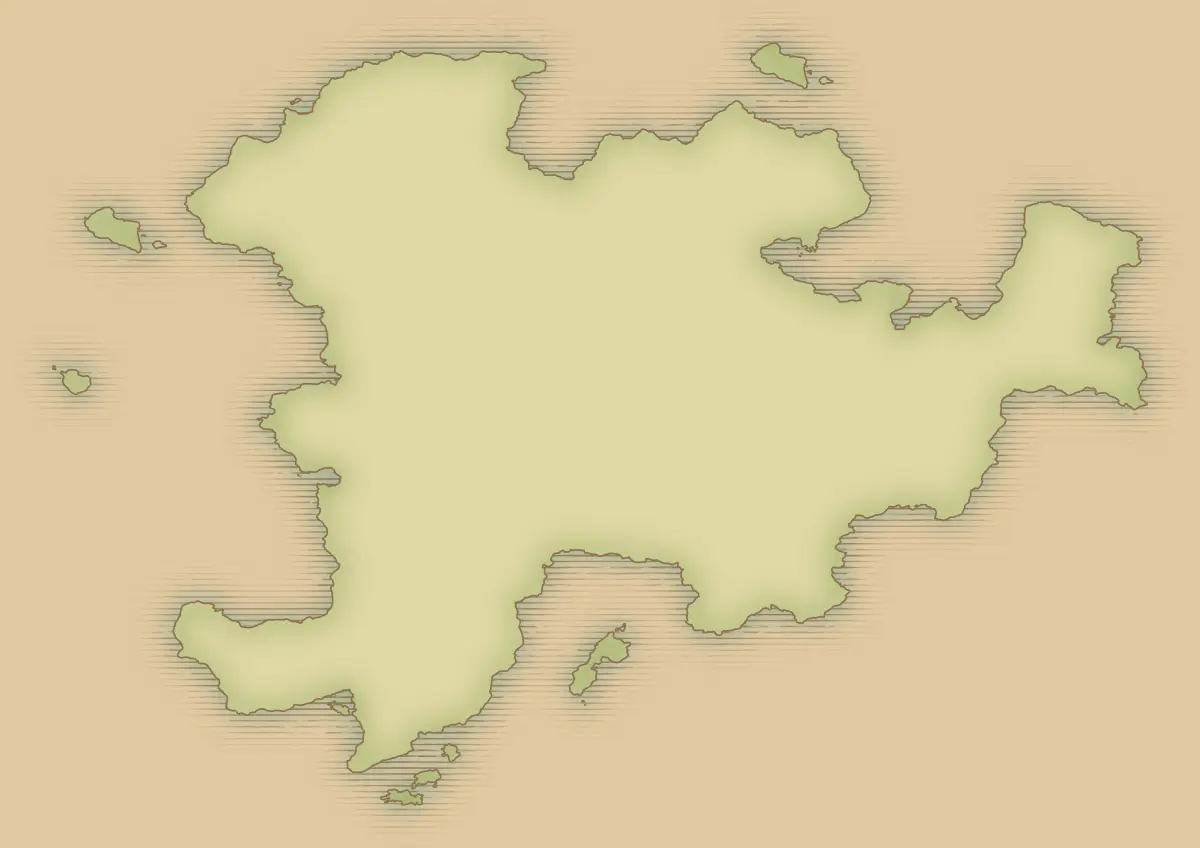
And here's my finished map showing off the effect. Click to view full size. I hope you like!
