Part Three - Coastlines
Posted 06 Jan 2022
Posted 06 Jan 2022
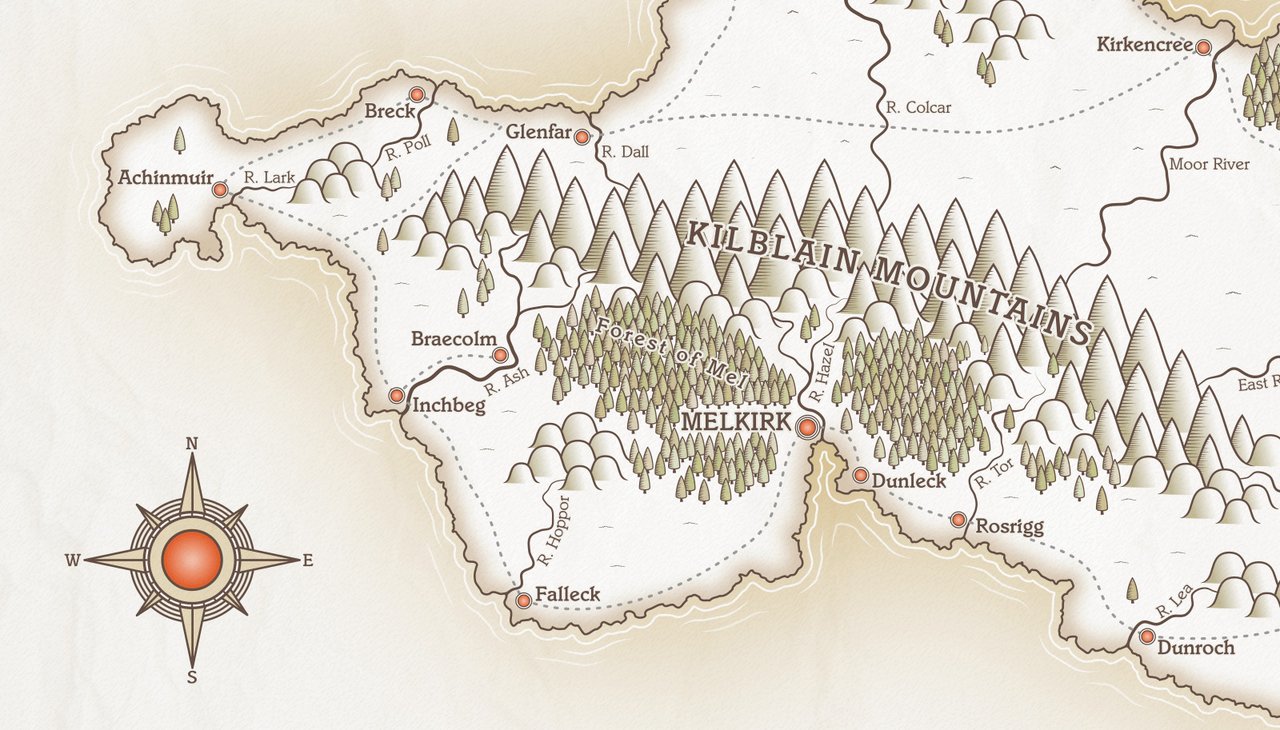
This post is the third part of a tutorial series that teaches how to create fantasy maps in Inkscape. This part deals with colouring the coastlines.
Here are the other sections of the tutorial.
Now onto Part Three!
You may have noticed in the last tutorial that my island is plain black. Not the most attractive shade for a map! Let’s set some basic colouring for the land area and the coastline.
The background colour of my island will be pure white, but I’m going to add a dark stroke around the coastline to define the shape of it. I also want to add some fade-out effects around the coastline to clearly differentiate the island from the background sea area. To achieve this, we’ll need three new layers, each with a duplicate copy of the island on it. I’ve outlined the steps below.
To summarise, you should now have four identical copies of your island:-
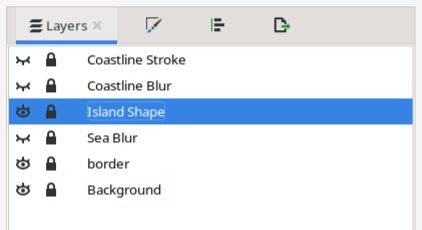
You might want to hide all layers then show each one individually to make sure that every layer has its own copy of the island. When you’re satisfied, hide and lock all except the original ‘Island Shape’ layer.
Click the island on the ‘Island Shape’ layer and, using the Fill and Stroke panel, set its Fill colour to white
#ffffffff (make sure you unlock the layer, if you locked it previously!) Remove any stroke. Lock the layer
again when you’ve done this.
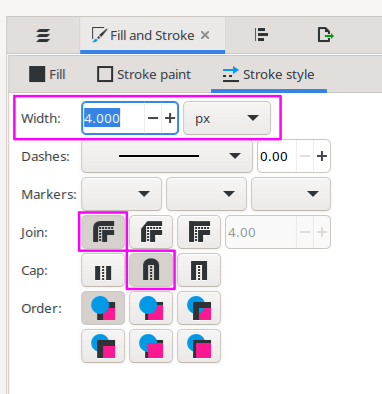
Unhide and unlock the ‘Coastline Stroke’ layer. Click the island shape and, using the Fill and Stroke panel, remove the fill colour. Now click on the Stroke Style tab. Make sure the stroke is a solid line (not a dashed/dotted line) and set its width to 4px. Set the Join type to ‘Round’ (the first icon on the left), and set the Cap type to ‘Round’ (the middle icon). Note, later versions of Inkscape may have changed the order of the Join types, and round join may be in the middle now. A tooltip should appear saying ‘Round join’ when you hover over it.
On the Stroke Paint tab of the Fill and Stroke panel, set the stroke colour to #654f45ff. This will give us a
nice dark coastline that contrasts well with the pale background. Lock the layer when you’re done.
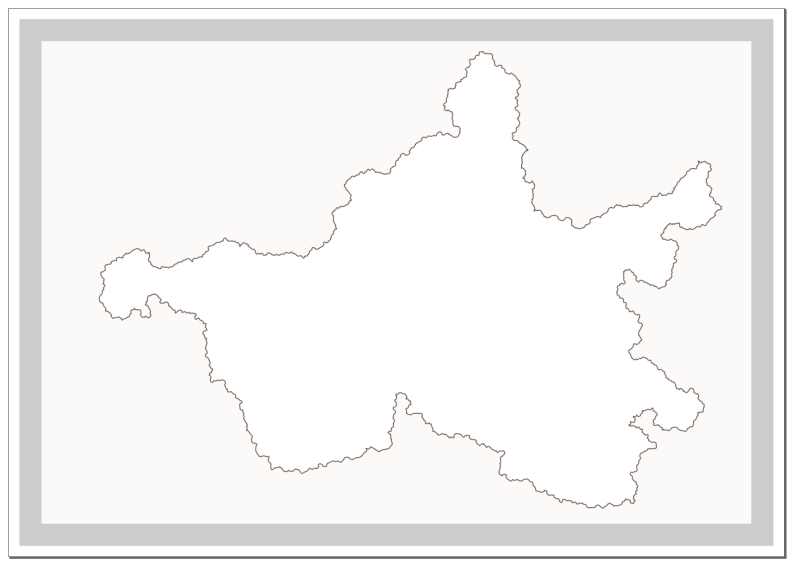
Here’s what I have now.
Our next steps will add blurred effects in the sea and in the coastline areas of the island. Inkscape can slow dramatically when large blurs have to be rendered on screen, so I’m going to do each layer one at a time, and when it’s complete, the layer will be locked and hidden. If you’re doing something as complex as a map in Inkscape, I would always recommend that you hide anything that doesn’t need to be on screen at that particular moment. Obviously, you need to sit back from time to time and look at what you have overall, but there’s no point in slowing your machine to a crawl just so that you can admire the nice blur effect around the coasts! Hide anything that doesn’t need to be visible.
So, let’s move on to our ‘Sea Blur’ layer, which is positioned underneath our island. Hide the ‘Island Shape’ layer for a moment, and unlock ‘Sea Blur’. Now zoom out a little so that your whole map is visible with a decent amount of the canvas white space around it. The more you zoom in with blurs, the slower Inkscape gets, so it’s easier on your PC if you can zoom out a reasonable amount.
Click the island shape on the ‘Sea Blur’ layer and give it a colour of #d4b87bff. There shouldn’t be a stroke,
but if you have one, remove it.
Underneath the box where you entered the Fill colour, there are Blur and Opacity sliders. You’ll need to experiment a little with your map, but try giving the island shape a blur of around 40%. You want a blur that fades out nicely towards the border but is still quite visible around the coastlines. Experiment to see what works for you. The ‘Coastline Stroke’ layer should still be visible, so that allows you to see where your island begins and ends. Show the ‘Island Shape’ layer again, which will cover up much of the blur, but allows you to see what shows beyond the coasts.
Here’s what my Sea Blur layer looks like with 40% blur.
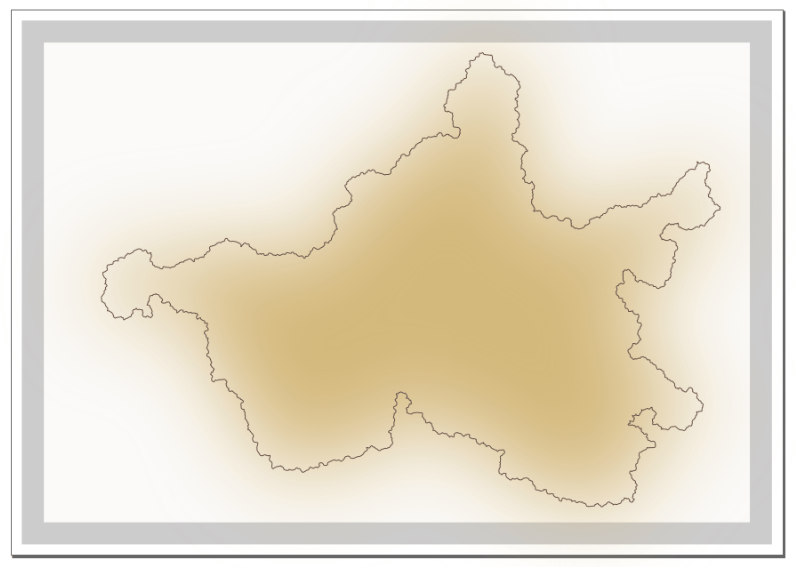
And here’s my Sea Blur layer with the ‘Island Shape’ layer visible. The white background of the island, which was barely distinguishable from the sea before, is now starting to pop.
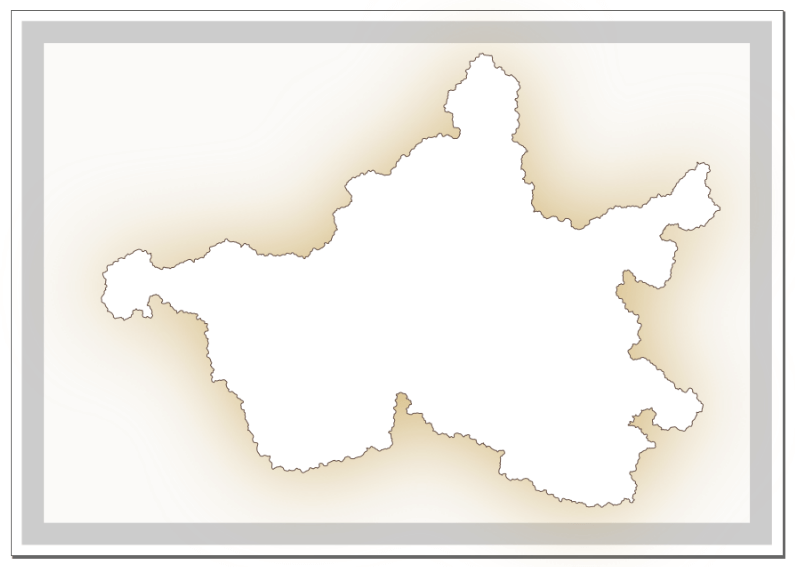
A small side note: you can just make out from the screenshots that some of the blur is encroaching on the border. I’m not concerned about that right now. When we’re ready to work on the border layer, we’ll move it to the top of the layer stack and it’ll cover up the blur.
We have one more blur to work on, which I’ll explain in a moment. Before we start, hide and lock the ‘Sea Blur’ layer, so that it’s not slowing things down. Make sure your Coastline Stroke layer is visible and locked.
Unlock the ‘Coastline Blur’ layer, and click the island shape on that layer once to select it. Remove the fill
and give the shape a stroke of 30px and a stroke colour of #d0b89aff. This will give a thick stroke all the way
around the coastline, half of which is inside the island and half which extends outside into the sea area (the
dark coastline stroke shows the true border of the island).
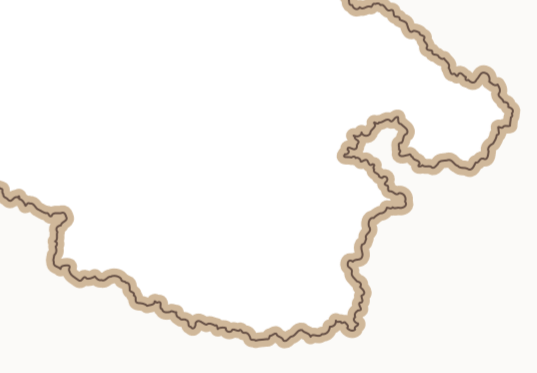
We want to use the inner part of the stroke, but not the outer, so we’re going to use a clipping path to help with this. Click the island shape once to select, then duplicate it with Ctrl + D. Give the duplicate copy a fill colour of red and - most importantly - remove the stroke on this copy.
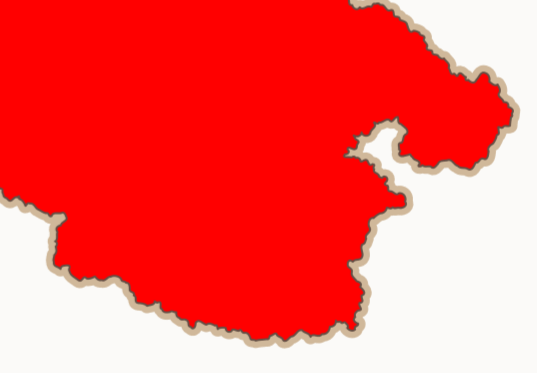
Inkscape’s default clipping method requires you to cover up what you want to keep. Every part of an object covered with the clipping path will remain visible when the clip is applied, but anything not covered will be hidden. So, look at the red island shape. It covers up the part of the thick stroke that’s inside the island border, but leaves the other half uncovered. This is exactly what we want! Click the red shape, then hold Shift and click the thick stroke (the bit of it that you can see), so that both shapes are selected. Now go to Object > Clip > Set. This will hide the parts of the stroke outside the island and leave only the bits inside. So far, so good, but clipping has another great benefit.
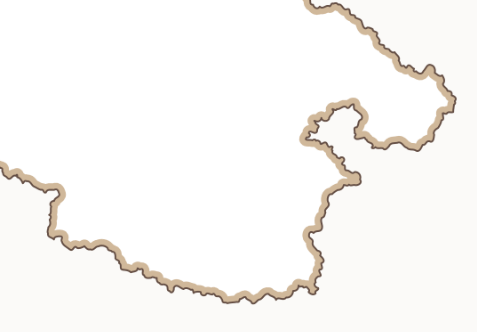
Click the thick stroke to select it. On the Stroke tab of the Fill and Stroke Panel, give it a blur of around 12% (again, you may need to experiment a little with the exact value, depending on your island shape.) After applying the blur, the thick stroke will blur as expected, BUT, the best part is how the blur doesn’t extend beyond the island’s borders. It’s constrained by the clip we set earlier, and no matter how much we blur, it won’t go beyond the edges of that red shape we used for the clip. This allows us to set a very nice blurred border inside the island shape, which helps to make our coastline pop even more.
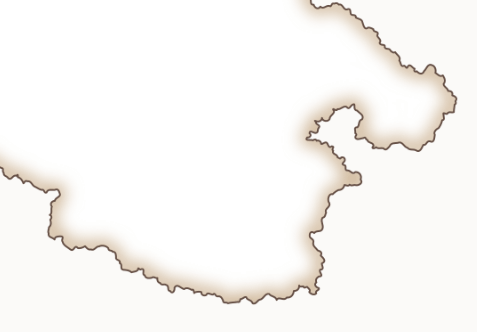
We’re almost done for this step, but before we finish up, zoom out a little (to ease the strain on Inkscape), then turn on your Sea Blur layer, so that all layers are now visible. You can see the nice fade out effect on both the inside and outside edges of the coastline. Lock and hide the Sea Blur and the Coastline Blur layers when you’re done.
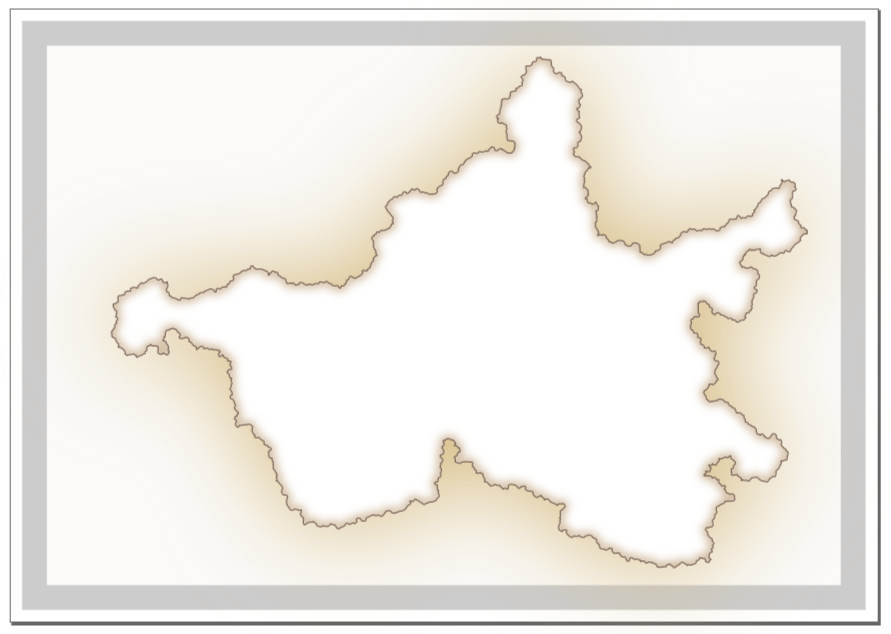
Remember, save, save, save! And perhaps run the Document Clean Up tool too. Then save again.
In this section, we gave our island a fill colour and a dark stroke around the edge. We used blur to create faded effects around the coastline. In Part Four, we’ll improve the coastlines a little more with some ripple effects in the water.
Tags:
inkscape mapmaking map-tutorial